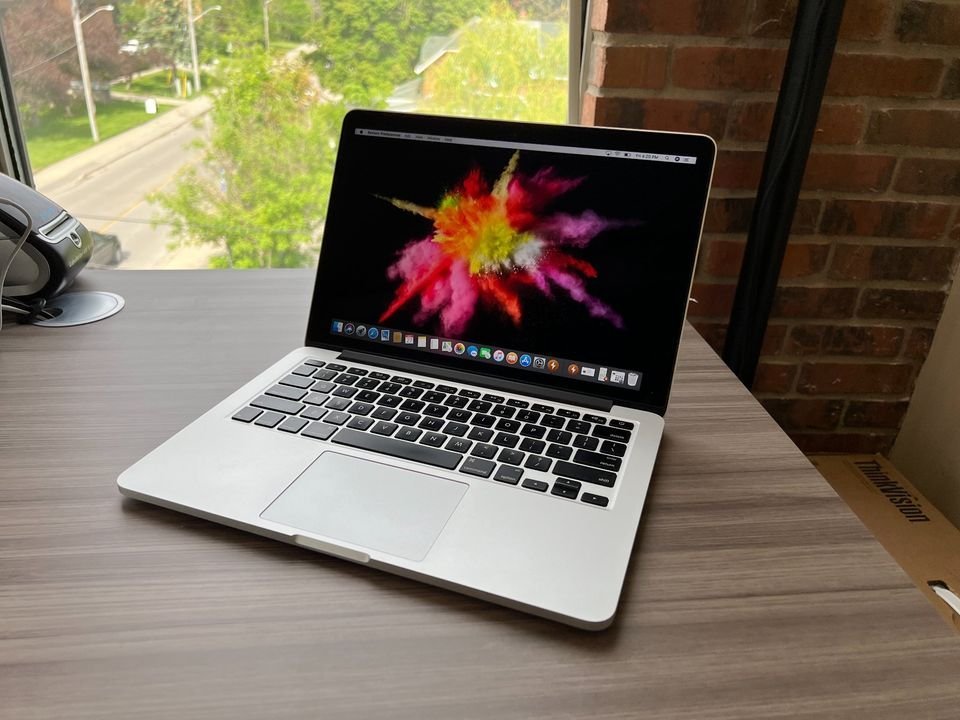
Macs, like other gadgets manufactured by Apple Inc, are reliable and efficient. Apple is known to always push forward with solutions, as seen in their typical workhorse devices.

Thanks to the amazing features that they offer, Apple users have formed a sort of cult.
Irrespective of how durable the Mac is, users may encounter issues—although rare, it happens.
When a user encounters such issues, fixing them seems like an uphill task. One of the most frustrating issues a Mac user could encounter is the external hard drive not showing. The immediate solution will be to carry out troubleshooting.
However, the fault may persist even after the user carries out all basic troubleshooting tips. This article is designed for Mac users in this situation, explaining how they can tackle this issue.
How to Connect Your External Hard Drive to a Mac

Before we resolve this issue, let’s first ensure you properly connect the external hard drive and walk you through some basic steps. These steps may vary depending on the Mac software version. However, the steps will be very similar, so following the instructions below will still take you to the same solution.
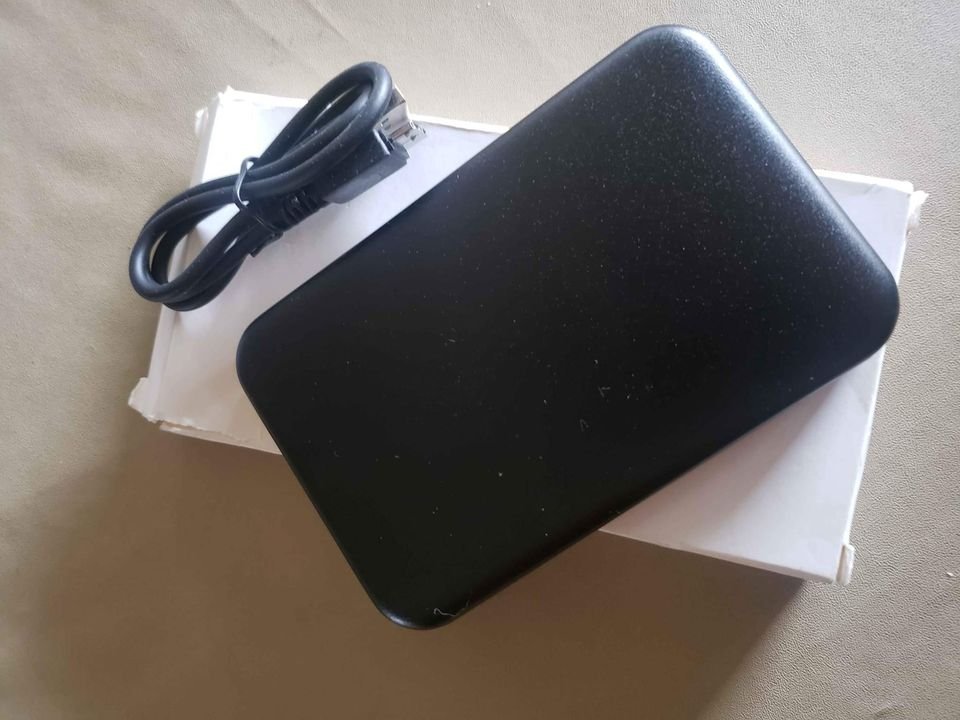
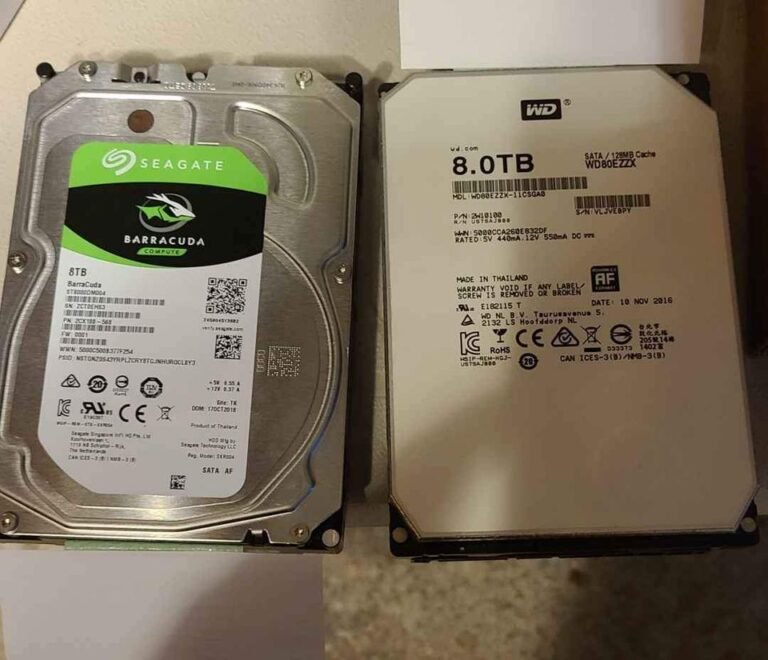
People prefer using an external hard drive because it is a cheaper way to get more storage s and is more affordable than using ing internal hard drive. If you already have one, here’s how to connect it;
The goal is to connect your external hard drive to your Mac or MacBook. You can connect the hard drive through USB, Thunderbolt, and USB-C ports, and the port is dependent on the model that you are using.
Troubleshooting Steps
It is important to check the basics first, so ensure you troubleshoot your PC anytime you notice that it has issues. Trouble-shooting might be the much-needed solution, helping you save time and money. It can be frustrating when you spend money fixing a fault because something wasn’t properly plugged in.
- Check the cable from the hard drive and ensure it is properly connected to your Mac.
- Make sure that your external hard drive is powered up if needed. Be
- Make sure the cable is in good shape; if it is not, swap it for a spare one or get a new one.
- Try a different hard drive power cable if you have a spare
- Change your wall outlet if you have one nearby
- Reboot your PC if a program or app stops the Mac from detecting the drive.
Other Important Steps to Take
If it is a new drive, it is also important that your drive is formatted. Many imported drives are empty, and while your PC should detect and automatically offer to format them, sometimes, it doesn’t work that way. So, try connecting the external drive to a different PC to see if it offers to format the drive. This is to protect the drive from damage.
Ensure that your drive is not programmed to use sleep or power-saving function. If it has, turns it off. Also, ensure that the drive has enough power to power it up. An average USB cable carries 5V, and if the cable is its only source, it may not be sufficient to power the drive. To be on the safe side, use a USB power cable.
How About Troubleshooting The Mac?
There are two possible faults, either from the drive or the Mac. Depending on your findings, you can troubleshoot the drive or the Mac.
From your PC, open Finder. To do this, go to the top left of your screen, finder, and Preferences and General. Ensure that the box close to the external disk is checked.
Once you have confirmed that the box is indeed checked, go to fix the external hard drive not showing up on Mac and follow the instructions.
Consider Using a Data Recovery App
If, after troubleshooting the drive and your PC, you still can’t access the data on the drive, don’t worry; there are data recovery apps that you can use. While these apps have proven to work, I will still advise you to conduct thorough research before settling for one. Most credible recovery apps require you to pay a certain amount before using them.
Finally, always disconnect your drive properly.
We have a final suggestion to make that is more of a guard against this error.
This is a final suggestion, and it is more of a guard than a solution. The aim is to prevent further occurrences.to prevent future damage, always unmount your drive properly after using it. I know you are tempted to pull out the USB cable and move on; please resist this urge. To unmount your drive, right-click the icon on your Desktop or use finder to choose Eject. This will significantly reduce the chances of your drive developing a fault.
